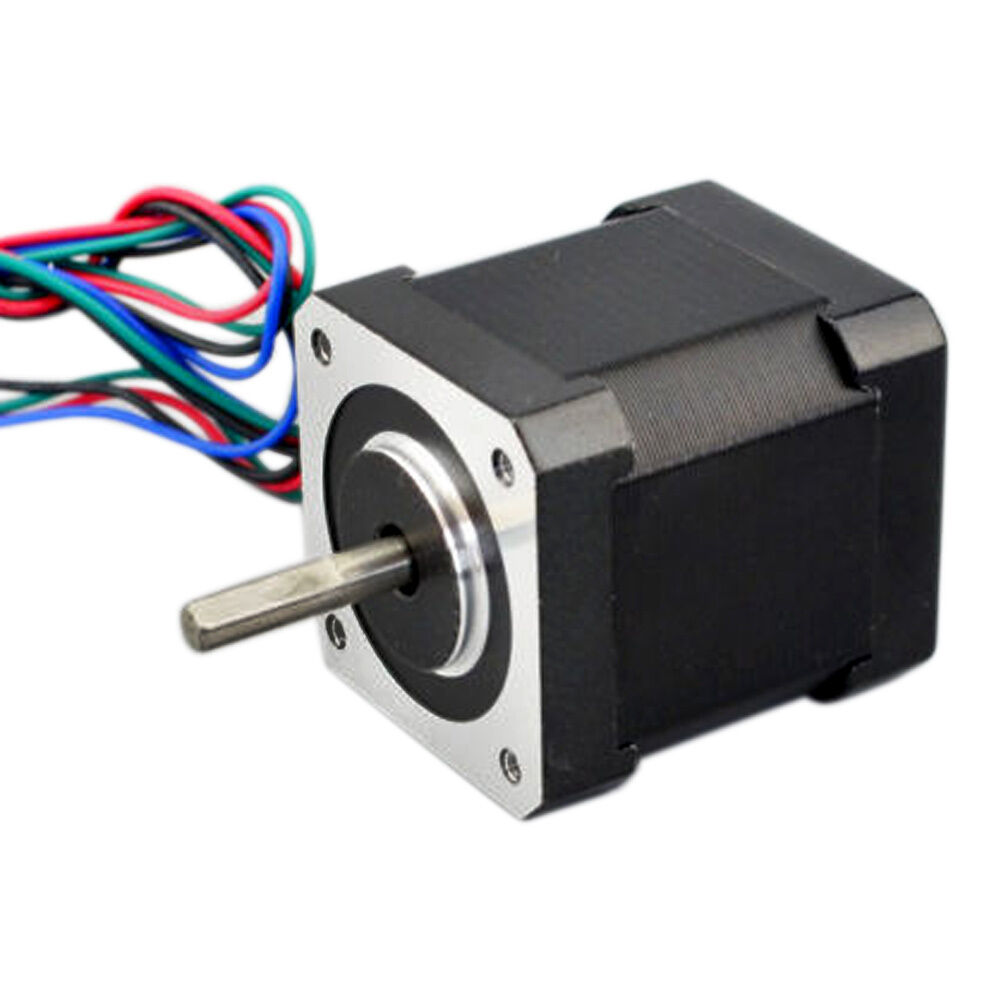
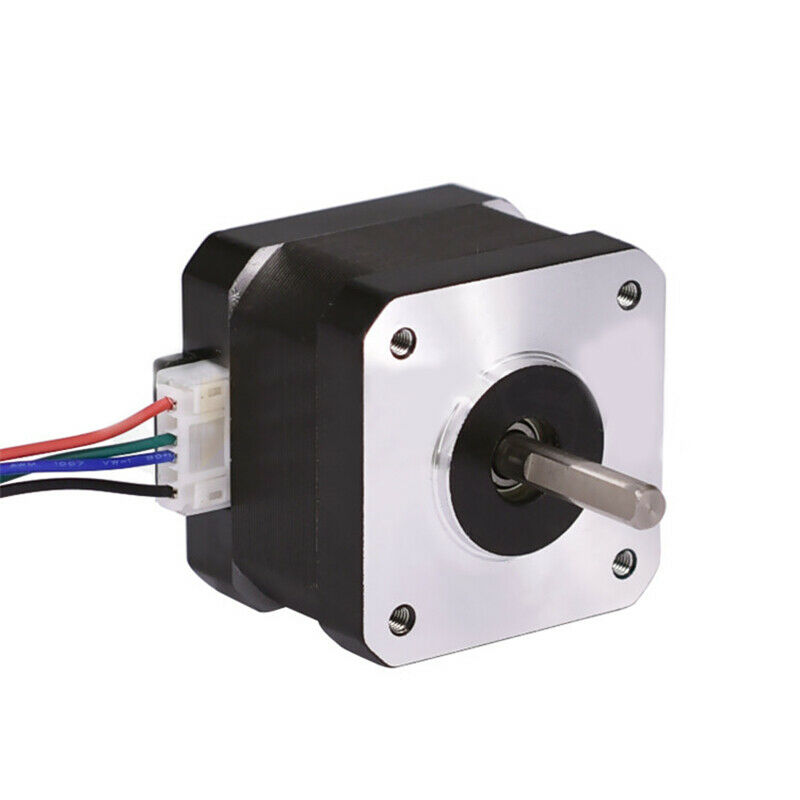
Stepper Motor configuration


All stepper motor are handled by StepperMotor class. The class implements:
- Stepper motor FOC algorithm
- Motion control loops
- Monitoring
- User communication interface
Step 1. Creating the instance of the stepper motor
To create a stepper motor instance you need to specify the number of pole pairs of the motor.
// StepperMotor(  int pp)
// - pp  - pole pair number
StepperMotor motor = StepperMotor( 50 );
Pole pair number
Most of the stepper motors are 200 step per rotation motors making them 50 pole pair motors. In practice you can know thepole_parisnumber by dividing the number of steps per rotation by4.
If you are not sure what yourpole_parisnumber is. The library provides you an example code to estimate yourpole_parisnumber in the examplesfind_pole_pairs_number.ino.
Step 2. Linking the sensor
Once when you have the motor defined and the sensor initialized you need to link the motor and the sensor by executing:
// link the sensor to the motor
motor.linkSensor(&sensor);
Method linkSensor is able to link the motor to any sensor implemented in this library. The sensor will be used to determine electrical position of the motor for the FOC algorithm as well as for the motion control loops of velocity and position. See the position sensor docs for more info!
Linking is not necessary when using the openloop motion control.
Step 3. Linking the driver
Once when you have the motor defined and the driver initialized you need to link the motor and the driver by executing:
// link the driver to the motor
motor.linkDriver(&driver);
The StepperMotor class expect to receive a StepperDriver class instance, implemented by default with the StepperDriver4PWM class. The driver deals with all the hardware specific operations related to specific microcontroller architecture and driver hardware. See the stepper driver docs for more info!
Step 4. Configuration
If you choose not to set some of the configuration parameters they will take values defined in the defaults.h file. Check the library source code to dig deeper.
Step 4.1 Modulation type
You can set them by changing the motor.foc_modulation variable:
// choose FOC modulation
// FOCModulationType::SinePWM;
motor.foc_modulation = FOCModulationType::SinePWM;
StepperMotor class has only Sinusoidal PWM modulation implemented for the moment current version.
For more information about the theory of these approaches please and source code implementation check the FOC implementation docs or visit the digging deeper section.
Step 4.2 Sensor and motor aligning parameters
The voltage used for the motor and sensor alignment set the variable motor.voltage_sensor_align:
// aligning voltage [V]
// default 6V
motor.voltage_sensor_align = 3;
Step 4.3 Motion control parameters
There are 3 different closed loop control strategies implemented in the Arduino SimpleFOClibrary:
Additionally SimpleFOClibrary implements two open loop control strategies as well:
You set it by changing the motor.controller variable.
// set FOC loop to be used
// MotionControlType::torque      - torque control loop using voltage
// MotionControlType::velocity    - velocity motion control
// MotionControlType::angle       - position/angle motion control
// MotionControlType::velocity_openloop    - velocity open-loop control
// MotionControlType::angle_openloop       - position open-loop control
motor.controller = MotionControlType::angle;
Important!
This parameter doesn't have a default value and it has to be set before real-time execution starts.
Each motion control strategy has its own parameters and you can find more about them on motion control docs.
Here is the list of all the motion control configuration parameters:
// set control loop type to be used
motor.controller = MotionControlType::angle;

// controller configuration based on the control type
motor.PID_velocity.P = 0.2;
motor.PID_velocity.I = 20;
motor.PID_velocity.D = 0.001;
// jerk control it is in Volts/s or Amps/s
// for most of applications no change is needed
motor.PID_velocity.output_ramp = 1e6;

// velocity low pass filtering time constant
motor.LPF_velocity.Tf = 0.01;

// angle loop controller
motor.P_angle.P = 20;
motor.P_angle.I = 0; // usually set to 0  - P controller is enough
motor.P_angle.D = 0; // usually set to 0  - P controller is enough
// acceleration limit
motor.P_angle.output_ramp = 1e6;

// motion control limits
// angle loop velocity limit
motor.velocity_limit = 50;
// voltage limit
motor.voltage_limit = 12; // Volts -  default driver.voltage_limit
Step 4.4 Configuration done - motor.init()
Finally the configuration is terminated by running init() function which prepares all the hardware and software motor components using the configured values.
// initialize motor
motor.init();
Step 5. Field Oriented Control initialization
After the motor and sensor are initialized and configured, and before we can start the motion control we need to initialize the FOC algorithm.
// align sensor and start FOC
motor.initFOC();
Skip for openloop control!
This function should not be called if the motor is run in open loop!
This function aligns sensor and motor zero positions and initializes FOC variables. It is intended to be run in the setup function of the Arduino. After the call of this function FOC is ready and our setup is done!
If you are using absolute sensors such as magnetic sensors, in the initFOC() you can provide the sensor offset zero_electric_offset and sensor direction sensor_direction to avoid alignment procedure:
// align sensor and start FOC
//motor.initFOC(zero_electric_offset, sensor_direction);
motor.initFOC(2.15, Direction::CW);
You can find these values by running the find_sensor_offset_and_direction.ino example.
For more info about what really happens in initFOC() check the FOC source code implementation.
Step 6. Real-time motion control
The real-time motion control of theArduino SimpleFOClibrary is realized with two functions: motor.loopFOC() and motor.move(float target).
// Function running FOC algorithm in real-time
// it calculates the gets motor angle and sets the appropriate voltages
// to the phase pwm signals
// - the faster you can run it the better Arduino UNO ~1ms, Bluepill ~ 100us
motor.loopFOC();
Skip for openloop control!
This function should not be called if the motor is run in open loop!
The function loopFOC() gets the current motor angle from the sensor, turns it into the electrical angle and transforms the quadrature Uq voltage motor.voltage_q to the appropriate phase voltages ua, ub and uc which are set then set to the motor.
The transformation of the Uq to ua, ub and uc is defined with the configuration parameter motor.foc_modulation that is set to Sinusoidal PWM.
New Feature - Ud direct voltage support!
Sinusoidal PWM supports the direct voltage setting Ud setting. Direct voltage can be set by changing the variablemotor.voltage_d! This is a new feature and it will be exploited more in the feature releases with the current control.
This function is execution time is critical, therefore it is very important that the motor.loopFOC() function is executed as fast as possible!
Rule od thumb: execution time
The faster you can run this function the better!
- Arduino UNO
loop()~ 1ms- Esp32
loop()~ 500us- Bluepill
loop()~ 200us- Nucleo
loop()~ 100us
Finally, when we can set the phase voltages to the motor using the FOC algorithm we can proceed to the motion control. And this is done with motor.move() function.
// Function executing the control loops configured by the motor.controller parameter of the motor.
// - This function doesn't need to be run upon each loop execution - depends of the use case
//
// target  Either voltage, angle or velocity based on the motor.controller
//         If it is not set the motor will use the target set in its variable motor.target
motor.move(target);
The move() method executes the control loops of the algorithm. If is governed by the motor.controller variable. It executes either pure voltage loop, velocity loop or angle loop.
It receives one parameter float target which is current user defined target value.
- If the user runs velocity loop or velocity open-loop,
movefunction will interprettargetas the target velocity vd. - If the user runs angle loop or angle open-loop,
movewill interprettargetparameter as the target angle ad. - If the user runs the voltage loop,
movefunction will interpret thetargetparameter as voltage ud.
The target parameter is optional and if it is not set, the target value will be set by the public motor variable motor.target. The equivalent code would be:
motor.target = 2;
motor.move();
And that is it, you have your complete Field Oriented Controlled BLDC motor with motion control.
User interaction
SimpleFOClibrary implements two types of real-time user interaction:
Digging deeper
For more theoretical explanations and source code implementations of the FOC algorithm and the motion control approaches check out the digging deeper section.
Example code
A simple stepper motor torque control using voltage based on the FOC algorithm.
/**
 * Torque control example using voltage control loop.
 */
#include <SimpleFOC.h>

// Stepper motor instance
StepperMotor motor = StepperMotor( 50 );
// Stepper driver instance
StepperDriver4PWM driver = StepperDriver4PWM(9, 10, 5, 6, 7, 8);
// sensor instance
MagneticSensorI2C sensor = MagneticSensorI2C(AS5600_I2C);

void setup() {

  // initialize encoder sensor hardware
  sensor.init();
  // link the motor to the sensor
  motor.linkSensor(&sensor);

  // driver config
  // power supply voltage [V]
  driver.voltage_power_supply = 12;
  driver.init();
  // link driver
  motor.linkDriver(&driver);

  // set motion control loop to be used
  motor.controller = MotionControlType::torque;

  // initialize motor
  motor.init();
  // align sensor and start FOC
  motor.initFOC();

  // setting target voltage
  motor.target = 2;

  _delay(1000);
}

void loop() {

  // main FOC algorithm function
  motor.loopFOC();

  // Motion control function
  motor.move();
}
